mikedaddy.com
A blog about life, linux, networking, photography, and Perl
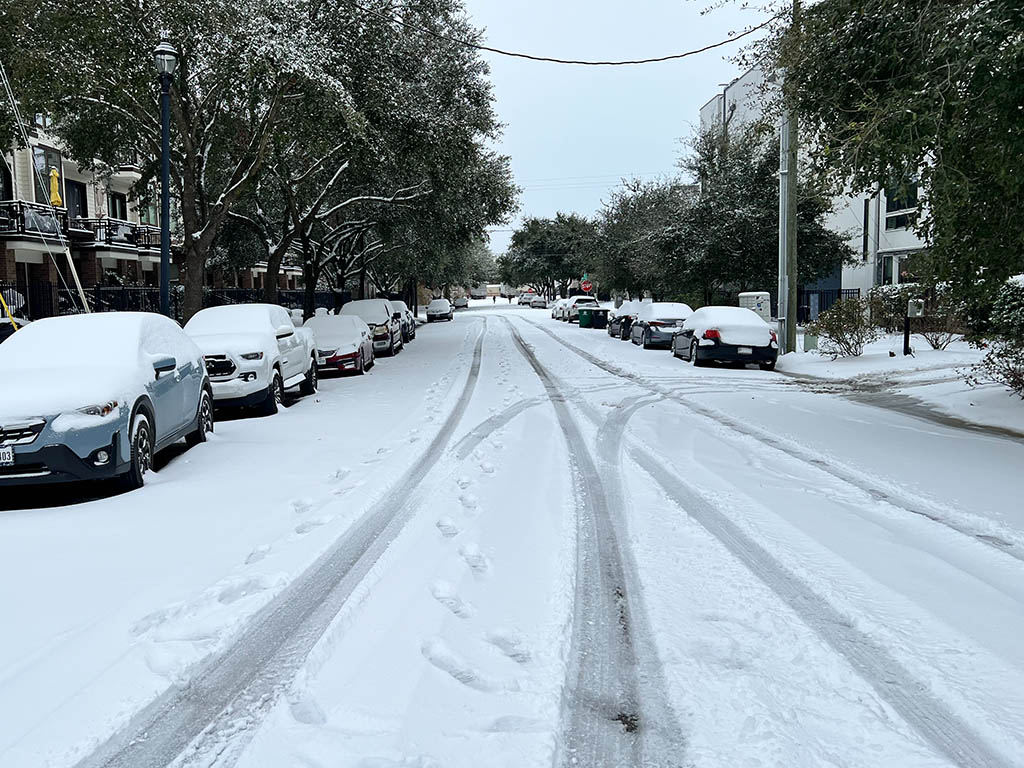
Houston had a snow day. Most I’ve seen here in my life I think. Oh hey I’ve been getting at least a post a year here. It’s always a new years resolution to write more about my life, although it seems like I don’t make the time for it, even though I’m on the computer 50+ hours a week. Blog Updates Decided to refresh the layout again. Realized all the post images were mostly gone. Lots of refactoring, still using Hugo. Switched all the headers to YAML instead of TOML for readability and my own sanity. Fixed a lot of markdown warnings in the backend and removed some old posts I don’t like, there’s probably more too. ...

I’ve been having a lot of issues with older Yealink phones not working with pjsip and TLS. Keep getting busy, and end up setting taking the lazy road (and less secure), and setting old broken endpoints to use UDP instead. You can also downgrade the extension to SIP and sometimes TLS will work, but moving it to PJSIP just breaks it. For security sake, please set your phones behind a VPN if you’re going to register without TLS. I happen to be spending more time at the office lately and wanted to take my spare T46s up there to use, since I was on a Polycom VVX 310 or something (I can’t stand Polycom, I dont know why). When I happen to move my T46s over from home to the office, I had some free time and decided to fix it. ...
This blog has run a lot of different software. It started as a microblog written in Perl, then I switched to Movable Type, then Wordpress, and now I’ve been running Ghost for a while now on this blog, I think more than two years, after dropped Wordpress, because I was constantly fighting to keep it secure and to keep from being hacked. Ghost has been begging me to update, so it was time to re-imagine things here. ...

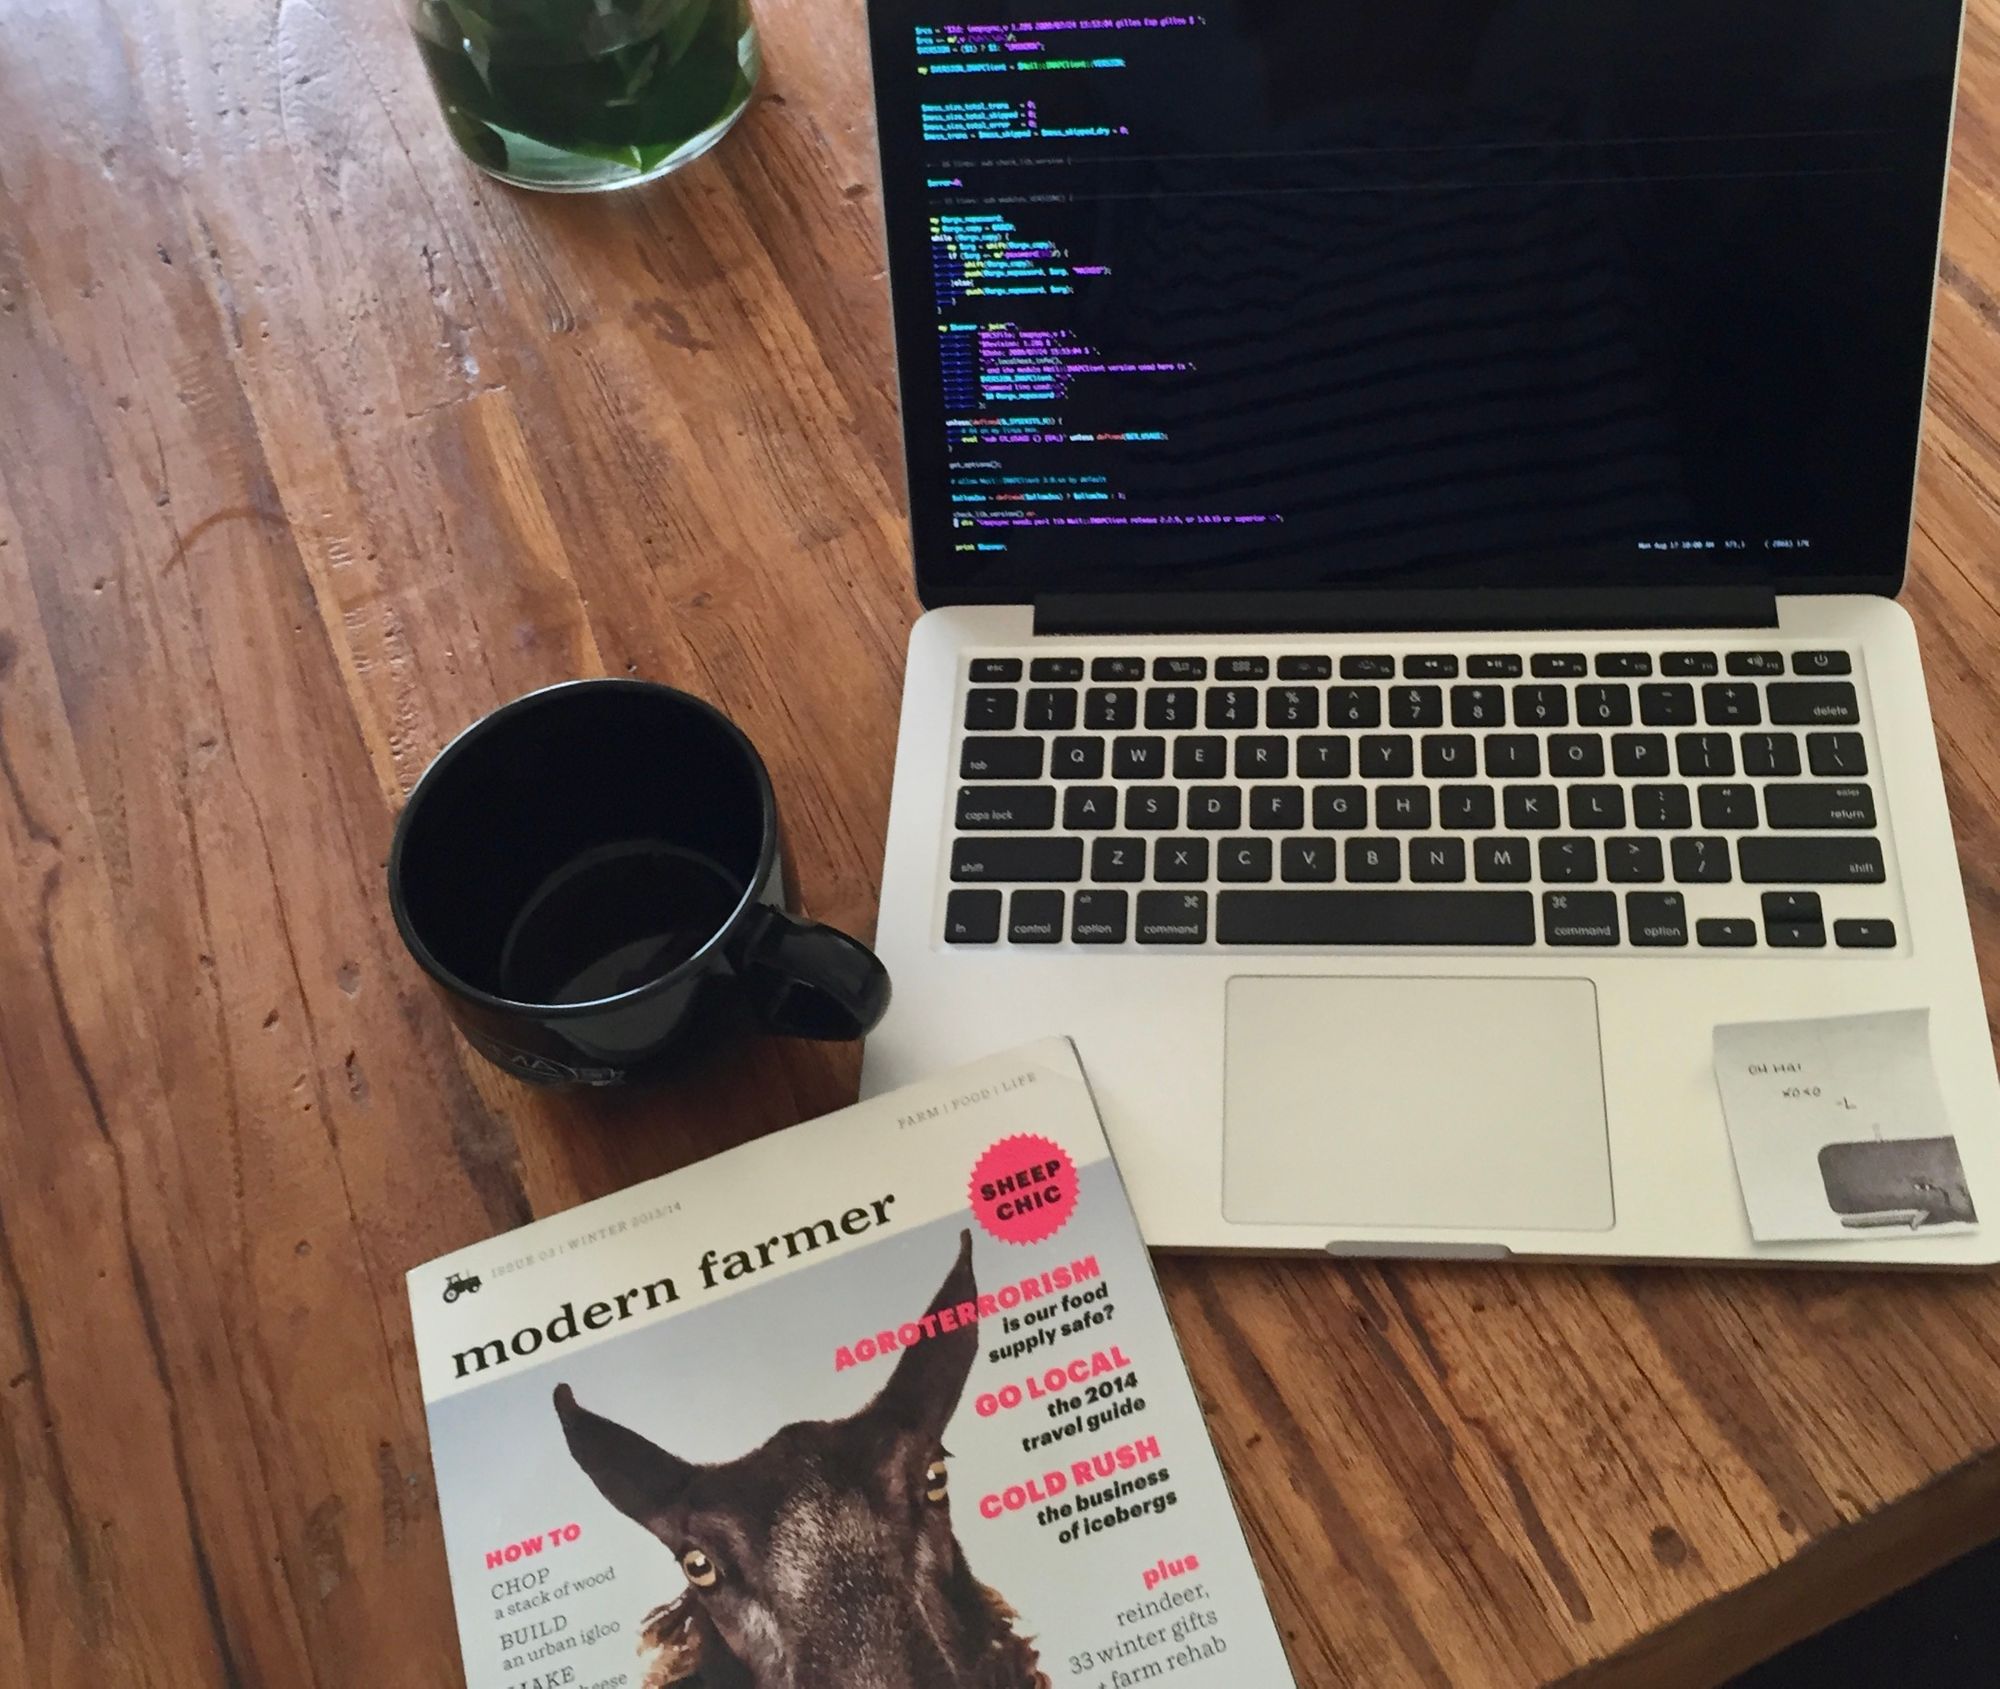
Background I have a django app that shows host links to internal employees, wanted to grab status from Nagios without having to go to a bunch of trouble screen scraping. Found this quick script from Alex Wright, and modified it to work where I can call it from a Django function, then I just loop through my models and match the json object to the model. Steps to deploy Upload file: status2json.py below in github script link to your Nagios4 server. You can put this in your /usr/lib/cgi-bin/nagios4 directory and chmod +x status2json.py ...
Or how I pretty much memorized IPSec tunneling

A poem for ninjas
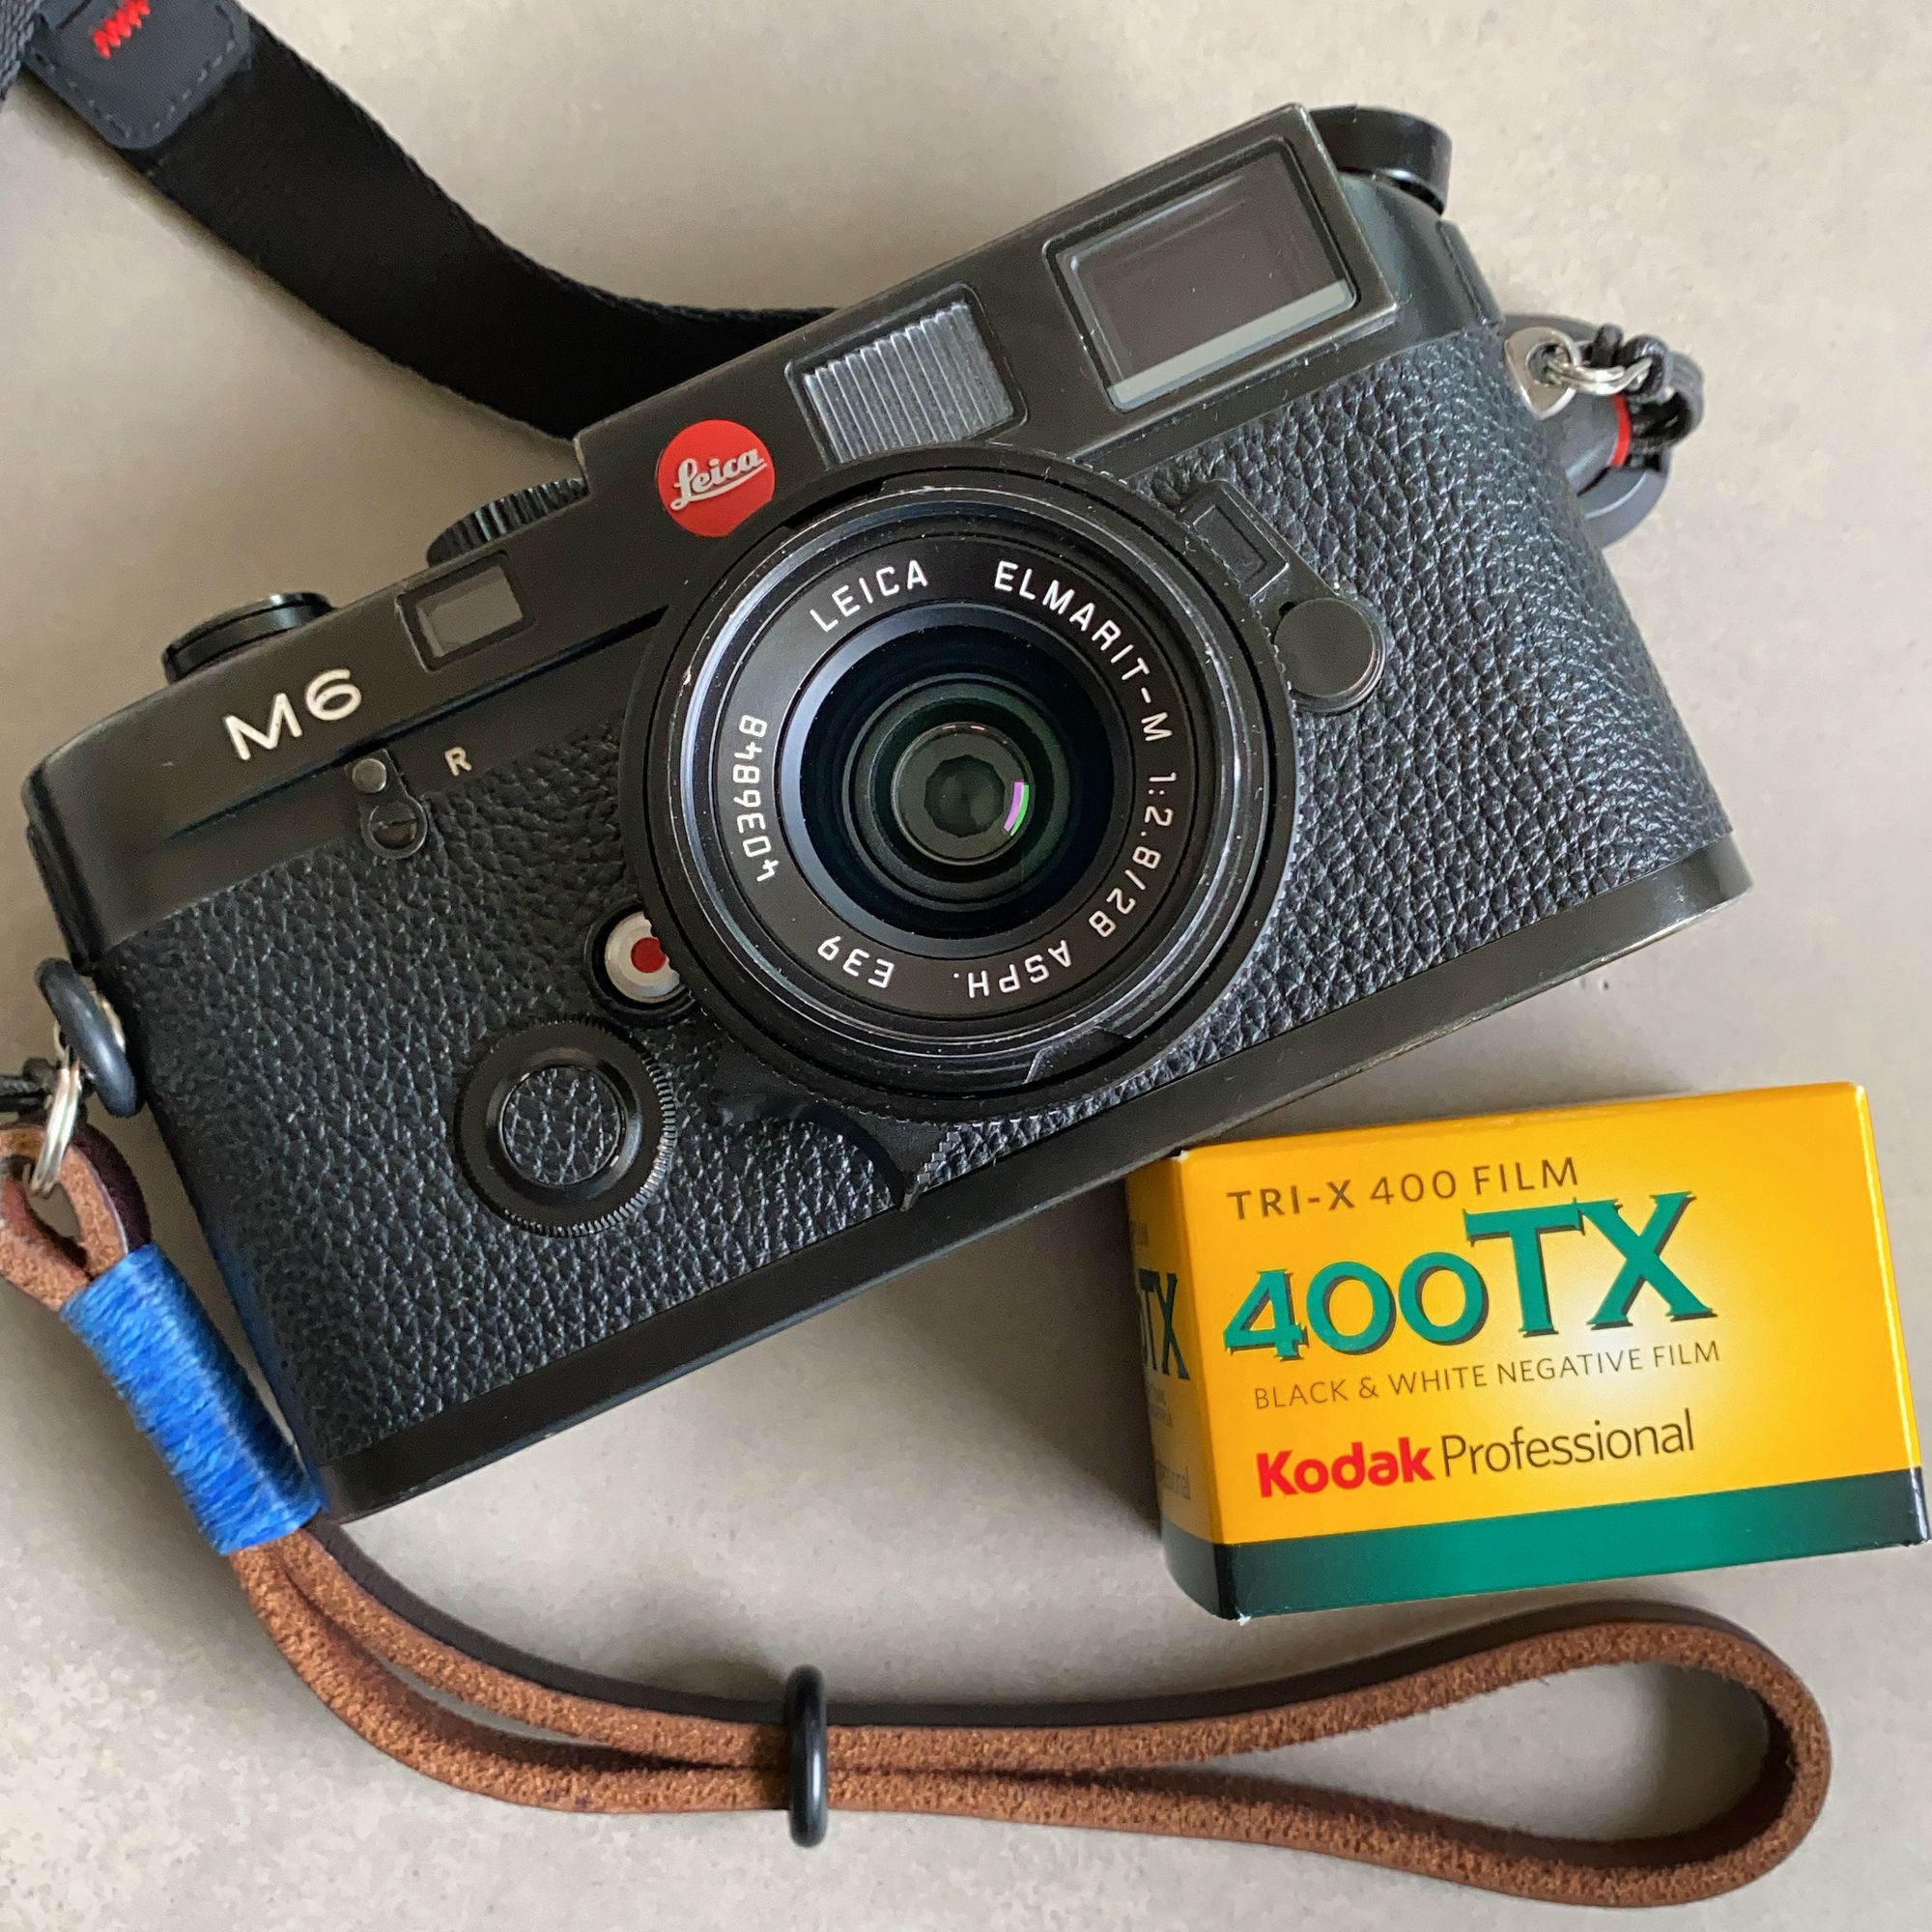
I really don’t blog enough. I want to blog all the time, but I think I get distracted, or maybe I just really don’t like WordPress. I’ve got so much history here though, it’s a huge undertaking to migrate to another format. I’ve been shooting film a lot, maybe for 6 months straight, exclusively. I’ve sold off most of my Canon digital lenses. Picked up some Leica lenses to go with my M6 (a 50mm Summicron, and a 28mm Elamrit). I really love the portability. I’m not certain the “picture quality” is any different than with my Canon Elan7 or my Nikon F3, but I enjoy the compactness of leaving the house with my Leica and a 28mm lens. Oh that reminds me, I wrote a “5 frame with” article on 35mmc blog (here). I think it inspired me to start writing again, or at least rambling along.. ...

Film Photos from an old trip to Niagara Falls.
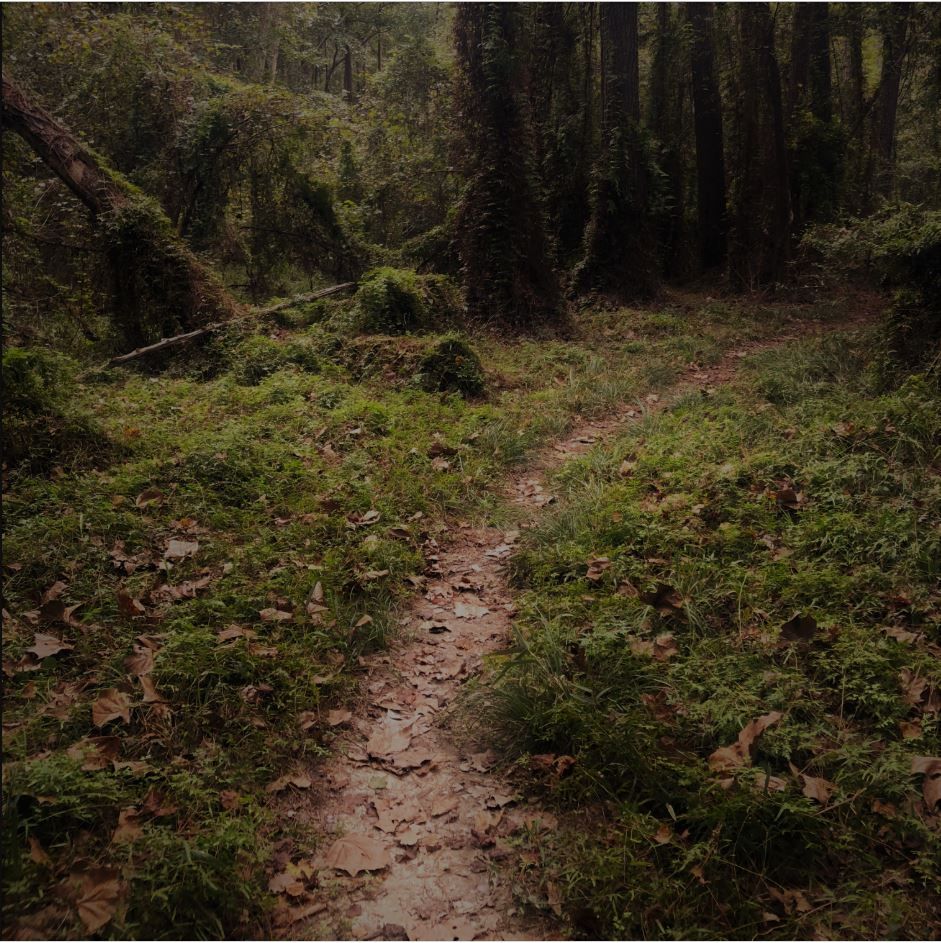
Hiking 10 miles on the Ameri-trail at Lake Houston Wilderness Park. Just a short day hike, which got super hot, and buggy!
Moving email off of a private server to fastmail was pretty easy.